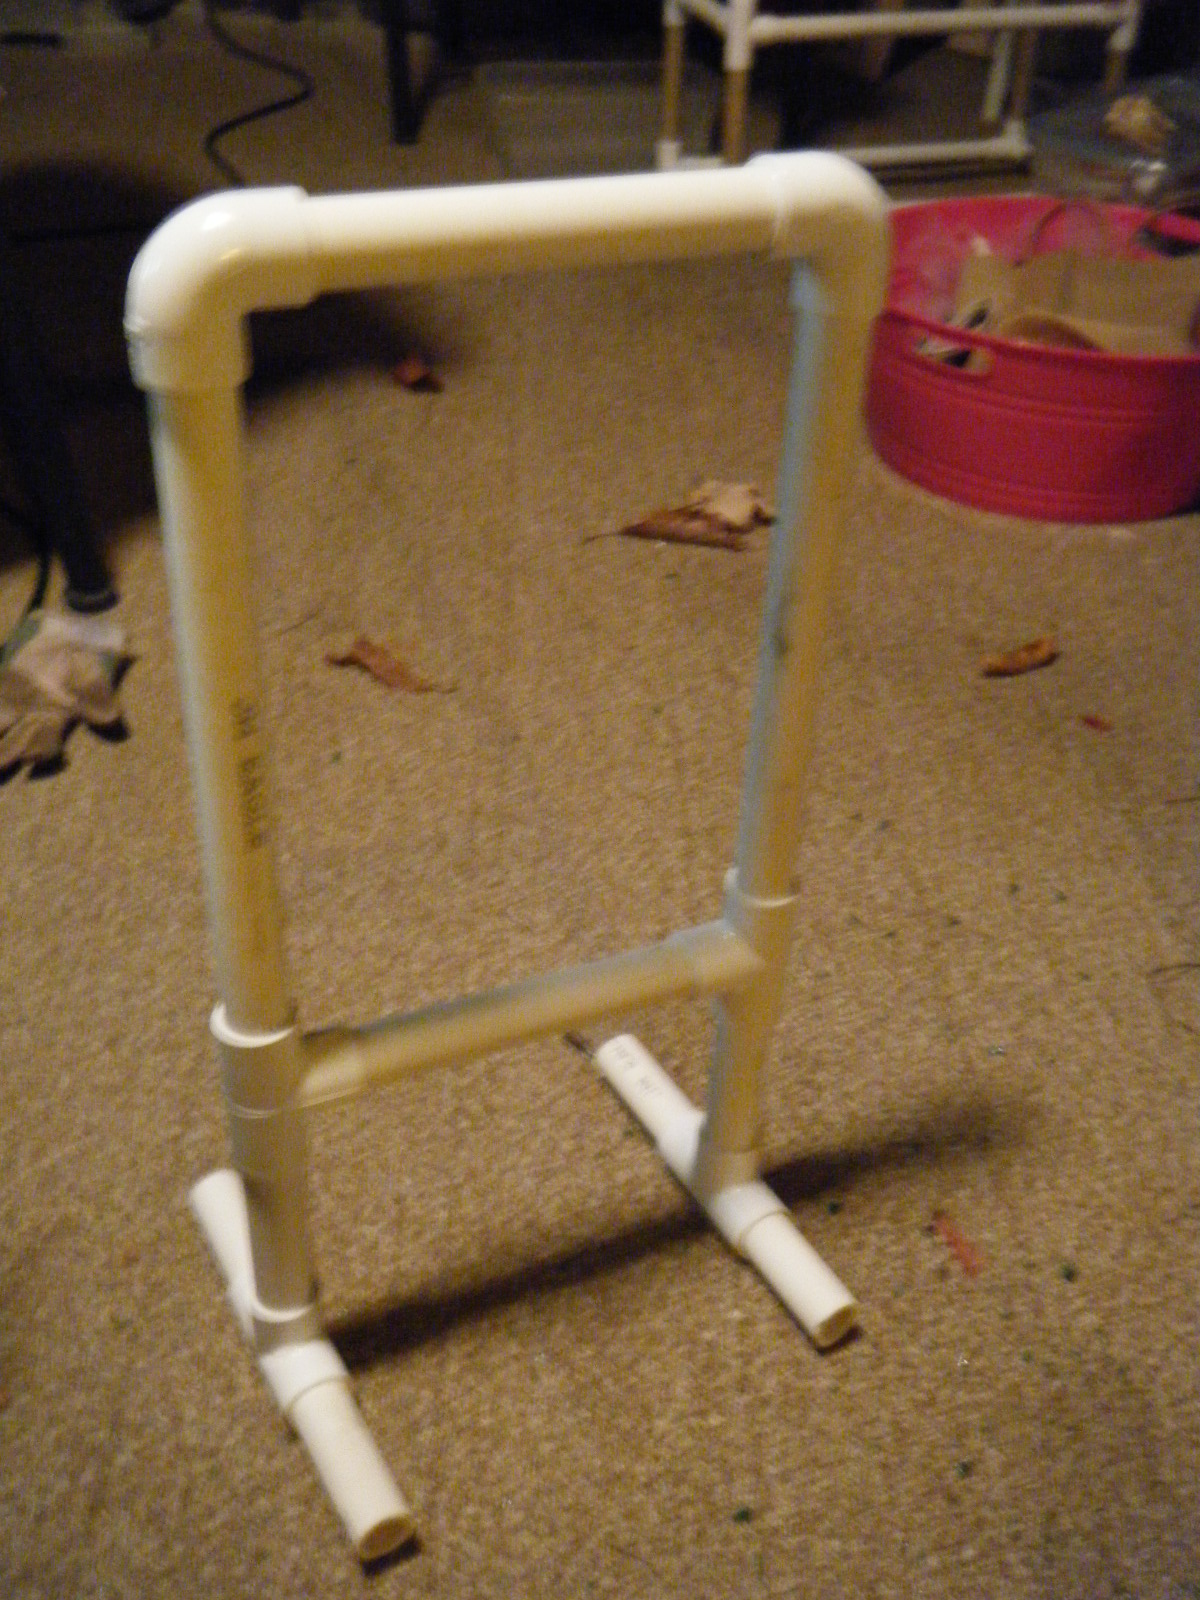
Okay, I must admit, this particular solution didn't work out for me, primarily because it will only work with necklaces that have clasps, BUT it was a stellar idea that ended up starting my addiction to PVC.
I was trying to come up with ideas to store all of my necklaces while maintaining counter space on my dresser, the solution? A curtain rod! Could have used a shower rod, but I happened to have an extra curtain rod so that's what I went with.
Now what I actually ended up going with has become a staple of my PVC creations, a jewelry organizer that will hold both bracelets and necklaces that hardly takes up any counter space!
Childproofing tips, household tips, ways to handle the oddest problems with the strangest materials and more!
Showing posts with label easy. Show all posts
Monday, October 28, 2013
Thursday, November 17, 2011
PVC + 5 Gallon Buckets = Great Toy Storage!
Here's a quick and easy PVC solution and a fun way to store toys or anything else...
Vivian LOVES putting things away these days...I can only hope that habit will last! So I thought of making a small (but expandable) "storage shelf" that she can reach and where she can put balls and various other toys. This project took less than an hour.
Materials needed:
When adding the buckets, put the buckets face-down and bang the pvc onto them for a snug fit.
You could also paint the whole project now that there is awesome spray paint that bonds to plastic!
Vivian LOVES putting things away these days...I can only hope that habit will last! So I thought of making a small (but expandable) "storage shelf" that she can reach and where she can put balls and various other toys. This project took less than an hour.
Materials needed:
- 1" schedule 40 PVC pipe. They sell this in 10' increments which is just about exactly what you need for this project.
- 4 x 1" PVC slip tees
- 6 x 1" PVC slip elbows
- 1 x 1" PVC 4-way cross connector
- 2 x 1" PVC end caps
- PVC Pipe cutter (I use a table/chop saw because I cut a LOT of PVC)
- 3 x 5 gallon buckets (can get at hardware or superstore in paint section)
- Cut 10 pieces measuring 10 inches
- Cut 2 pieces measuring 4 inches
- Cut 3 pieces measuring 2 inches
- Assemble as shown
When adding the buckets, put the buckets face-down and bang the pvc onto them for a snug fit.
You could also paint the whole project now that there is awesome spray paint that bonds to plastic!
Labels:
5 gallon,
balls,
child,
craft,
diy,
easy,
garage,
home improvement,
kid,
paint buckets,
plumbing supplies,
project,
pvc,
shelf,
simple,
storage,
toddler,
toys
MacGyver Gift Idea Today, Magnetic Chalk Board Cookie Tray!
Beyond Viv's new obsession with chalk (just hoping she figures out how to enunciate the "H" sound soon!), she LOVES magnets. One day she just plopped down in front of the fridge and started arranging the magnets...taking them off and on again and putting them all into a bucket. I then started gluing random things to magnets so I would have even more of them!
So a little while ago I made a chalkboard with a nice wooden frame and a "windowbox" that holds chalk (and whatever else Viv wants to put in there). It's not too lightweight or portable so I thought I'd make the "travel" version. I'm pretty pleased with the finished product.
This one was really simple and easy. I bought a tray at Family Dollar (but I recommend getting one even cheaper because the non-stick coating won't be as nice). I sanded it and primed it (priming is a MUST, but don't use oil-based primer such as Kilz...I had a can of that handy so tried that first and it wasn't EVER going to dry on my tray).
I then painted it with chalkboard paint on one side, and a bright, colorful paint on the other side.
I also painted an Altoid tin to match and glued magnets to the bottom of it and a ribbon to the top.
Then I slapped some more random items onto magnets, put some chalk into the Altoids tin (which is now a removable "caddy" to put stuff in)....and Voila! How simple is that??
So a little while ago I made a chalkboard with a nice wooden frame and a "windowbox" that holds chalk (and whatever else Viv wants to put in there). It's not too lightweight or portable so I thought I'd make the "travel" version. I'm pretty pleased with the finished product.
This one was really simple and easy. I bought a tray at Family Dollar (but I recommend getting one even cheaper because the non-stick coating won't be as nice). I sanded it and primed it (priming is a MUST, but don't use oil-based primer such as Kilz...I had a can of that handy so tried that first and it wasn't EVER going to dry on my tray).
I then painted it with chalkboard paint on one side, and a bright, colorful paint on the other side.
I also painted an Altoid tin to match and glued magnets to the bottom of it and a ribbon to the top.
Then I slapped some more random items onto magnets, put some chalk into the Altoids tin (which is now a removable "caddy" to put stuff in)....and Voila! How simple is that??
| Definitely a Big hit! |
Saturday, November 12, 2011
Idea of the Day - Dog Bed for Golf Cart
Anyone who has bought a dog bed...especially one for a car...knows how costly this can be. In the warmer weather, the dogs ride in the back basket of the cart.
But now the colder weather has arrived...and the new addition to the family doesn't have as much hair as DaisyDivot and tends to get chilly. I came up with a simple solution (after trying to over complicate things and measure to build something). There are several great things about this idea...
I then tested it on Splash, the shivering short-hair dachshund
Then I simply sat it on the golf cart seat and ran a large hook through the side. Alternatively you could use cable ties or anything handy...another great thing is that the basket has holes throughout! So now I have an easily removable, cozy solution for winter rides in the golf cart!
One thing that I will say though, if you are looking for a great dog bed for your car, I can recommend this one from personal experience...
But as far as the golf cart goes, for less than $10 you can have those pups riding in style!
But now the colder weather has arrived...and the new addition to the family doesn't have as much hair as DaisyDivot and tends to get chilly. I came up with a simple solution (after trying to over complicate things and measure to build something). There are several great things about this idea...
- it's temporary
- it's cheap
- it's easy
- it's washable/removable
I then tested it on Splash, the shivering short-hair dachshund
Then I simply sat it on the golf cart seat and ran a large hook through the side. Alternatively you could use cable ties or anything handy...another great thing is that the basket has holes throughout! So now I have an easily removable, cozy solution for winter rides in the golf cart!
One thing that I will say though, if you are looking for a great dog bed for your car, I can recommend this one from personal experience...
But as far as the golf cart goes, for less than $10 you can have those pups riding in style!
Location:
Bent Tree Golf Club
Holiday Idea of the Day, Crayon Wreaths
So I talked about making "toddler crayons" in a previous post. I came up with a fun variation for the holidays. In making crayons in a doughnut pan, the crayons are a little bit less stable so I came up with the idea to put two together. Then, I had some pipe cleaners laying around (of course) so I made little bows for them. You could use ribbon as well, that is just what was within arms reach at the time.
You can attach an ornament wire to these and they would make a great ornament gift (which can double as a crayon to doodle on wrapping paper when there is a lull on Christmas morning).
Thursday, November 10, 2011
Childproof your Fireplace
Childproofing can get EXPENSIVE! Being a hardware store junkie, I often find that many items that are sold under the guise of "child safety" are repackaged basic items you can find in a different aisle at the hardware store. Repackaged and, of course, repriced.
So...here's just one of my helpful childproofing tips in this arena. Pipe insulation. Yes, pipe insulation. I am a big fan of the plumbing aisle, and I have found that lots of things can be childproofed with pipe insulation.
I first discovered this when I was mounting a swing on my porch...it had seen better days as far as the rope goes, and we all hate prickly rope...I think that was one of my first pet peeves as a child. I cut some pipe insulation and put it around the rope and voila!
But I digress...here are the basics...buy pipe insulation. You can get the basic no-frills kind (around $2) or you can get it with peel and stick edges OR you can get pretty black pipe insulation. Both are a little pricier but one point to remember is that the basic, no-frills pipe insulation has a split down it as well which can be pulled apart...so it's not that different. For most of my childproofing, I use the basic, no-frills. I splurged on the pretty black (for copper pipes) for my fireplace for aesthetic purposes. Here is the result:
Pretty darn simple, right? And about 1/3 the price of repackaged stuff!
So...here's just one of my helpful childproofing tips in this arena. Pipe insulation. Yes, pipe insulation. I am a big fan of the plumbing aisle, and I have found that lots of things can be childproofed with pipe insulation.
I first discovered this when I was mounting a swing on my porch...it had seen better days as far as the rope goes, and we all hate prickly rope...I think that was one of my first pet peeves as a child. I cut some pipe insulation and put it around the rope and voila!
But I digress...here are the basics...buy pipe insulation. You can get the basic no-frills kind (around $2) or you can get it with peel and stick edges OR you can get pretty black pipe insulation. Both are a little pricier but one point to remember is that the basic, no-frills pipe insulation has a split down it as well which can be pulled apart...so it's not that different. For most of my childproofing, I use the basic, no-frills. I splurged on the pretty black (for copper pipes) for my fireplace for aesthetic purposes. Here is the result:
Pretty darn simple, right? And about 1/3 the price of repackaged stuff!
Labels:
babyproof,
childproofing,
crawling,
diy,
easy,
fireplace,
hardware store,
pipe insulation,
simple,
toddler,
walking
Wednesday, November 9, 2011
Got Tutu's? Another PVC solution!
So there are lots of "Tu"-torials online about making no-sew tutu's (pardon the pun, I couldn't resist)...and, aside from a few that tell you to loop the elastic around your leg...very little about easier ways to work with your tutu in progress AND store your tutu's without worrying with pesky skirt hangers...that's most likely because they haven't found ME yet!
Unlike some of my other projects with PVC, this one is so simple that ANYONE could do it.
Supplies needed:
One tip, if you are making or displaying/storing tutus that are "toddler" size OR using hairbands then your cross pieces should be approximately 8 inches. In general, take the normal width of your tutu waistband and subtract 2 inches for your cross pieces.
Unlike some of my other projects with PVC, this one is so simple that ANYONE could do it.
Supplies needed:
- 1 piece (or shorter if you can get it) of 3/4 inch PVC. (PVC comes in 10 foot lengths. This makes it sometimes awkward to fit into a car or SUV; however, the 3/4 inch is more flexible so that tends to be less of a problem). Cost? About $2.
- A PVC cutter (in general, I use a chop saw because I am obsessed...but for the 3/4 inch, it's a cinch to cut by hand) Home Depot sells an easy ratcheting PVC cutter by Brasscraft for about $14. You can also use a hacksaw but that's kind of a pain.
- 4 - 3/4 inch slip tees
- 2 - 3/4 inch slip elbows
One tip, if you are making or displaying/storing tutus that are "toddler" size OR using hairbands then your cross pieces should be approximately 8 inches. In general, take the normal width of your tutu waistband and subtract 2 inches for your cross pieces.
Tuesday, November 8, 2011
Easy Chalkboard for Kids!
Materials Needed:
- plywood, pressboard or other flat smooth wood
- square wood to make frame
- chalkboard paint
- paint for frame
- wood glue
- wood screws
- circular saw/table saw/jigsaw (any or all)
- drill
- astroturf (only for my "special" version)
- hot glue gun
A few weeks ago I was at Tuesday Morning and I really thought I scored big when I found a little chalkboard/easel for $19. Well, it's a great little find; however, as I tend to do, I thought I could make one that was bigger and better!
Turns out I was right...in my usual dig through the culled wood at Home Depot (if you don't know about this, you gotta check it out!) I found some tempered hardboard that had been torn/ripped. Lucky me, it was FREE! Now you can also buy it for a mere $14 at Home Depot...but it was nice to find it for free...
| Here's the "unblemished" version available at Home Depot |
Now I am lucky enough to have friends with good tools, so I had someone cut it down to a square. You can use a circular saw, table saw, jigsaw...or if you're really scrambling, a hand saw to cut it to whatever size you want.
After your board is cut, it's time for the paint. You can buy a can of chalkboard paint for under $5 at your local hardware store. Make sure that you apply several coats and that it dries well.
Also, the fine print on the can reminds you to "prime" the finished paint by covering it with chalk (rubbing with the side) and then erasing it. I'm guessing that this prevents any of the first marks ending up being permanent (kind of like a screen saver for your chalkboard).
I also found (for 25 cents each) some square 1x1's in the culled lumber section which I used to make the frame. I measured (and didn't do that great of a job this time) and then cut at 45 degree angles to make the frame. For my next one, I will make the frame the same size as the board (maybe a little bigger) so that I can make this project simpler. In my case, I made my frame fit around the board. I have a chop saw (which makes my life wonderful), but you can use whatever you've got to make these angles.
| Measured to make "frame" fit around the board...again, would do it differently next one. |
| Chop saw at 45 degree angle |
Next, I used Elmer's wood glue to glue the edges together, I usually use screws but thought I would try something different this time. I glued the edges and clamped them overnight. Then it was time to paint.
After allowing the paint to dry, I put the pieces together. As I stated earlier, I was a bit dismayed to find that making the frame to fit AROUND the board may have been a mistake, but I made it work out in the end. Also, one of my 1x1's was a little skewed which left a gap anyway.
Now, if I had planned out my project/cutting differently I would be all done, using finishing nails to attach the board to the frame; however, I had to go a different route (which worked out just fine in the end but added a lot more time). I decided to make kind of a "window box" for my chalkboard. I first attached some braces to hold the bottom edges of the board (made with scrap wood and a miter saw/box)
Then I attached a 1x4 to the back side of the frame. I made sure that the board actually was just a little bit wider than the frame. Then I cut out two sides to my "window box" and another 1x4 that was the same size as the one on the back. I grabbed some silver spray paint from the paint box and painted up the pieces. I cut the sides at a 15 degree angle.
After this, I used a drill and wood screws to build the "window box". Instead of adding a bottom, I thought I would give it a creative flair and line the box with astro turf (also something I happened to have lying around...lol)
To add the astroturf I just used a hot glue gun.
I then made an eraser out of little carpet sample squares and a ribbon loop.
| Finished eraser, not too bad! |
So my finished product ended up looking like this:
I've actually decided that I really like the "window" box on it...it is a good place to keep chalk (and anything else my toddler feels needs to go in there...)
And so ends the first version of make a chalkboard!
Labels:
activity,
affordable,
chalk,
chalkboard,
christmas,
craft,
diy,
easy,
eraser,
frame,
fun,
gift,
paint,
present,
project,
toddler,
toy,
wood screws
Subscribe to:
Posts (Atom)